
Customize event categories
Categories organize your events into groups that visitors can filter in the calendar widget. Each category has a name and a distinctive color that appears as a colored dot or indicator next to event names. You manage all categories from the Categories page in your Eventually dashboard.
Open the Categories page
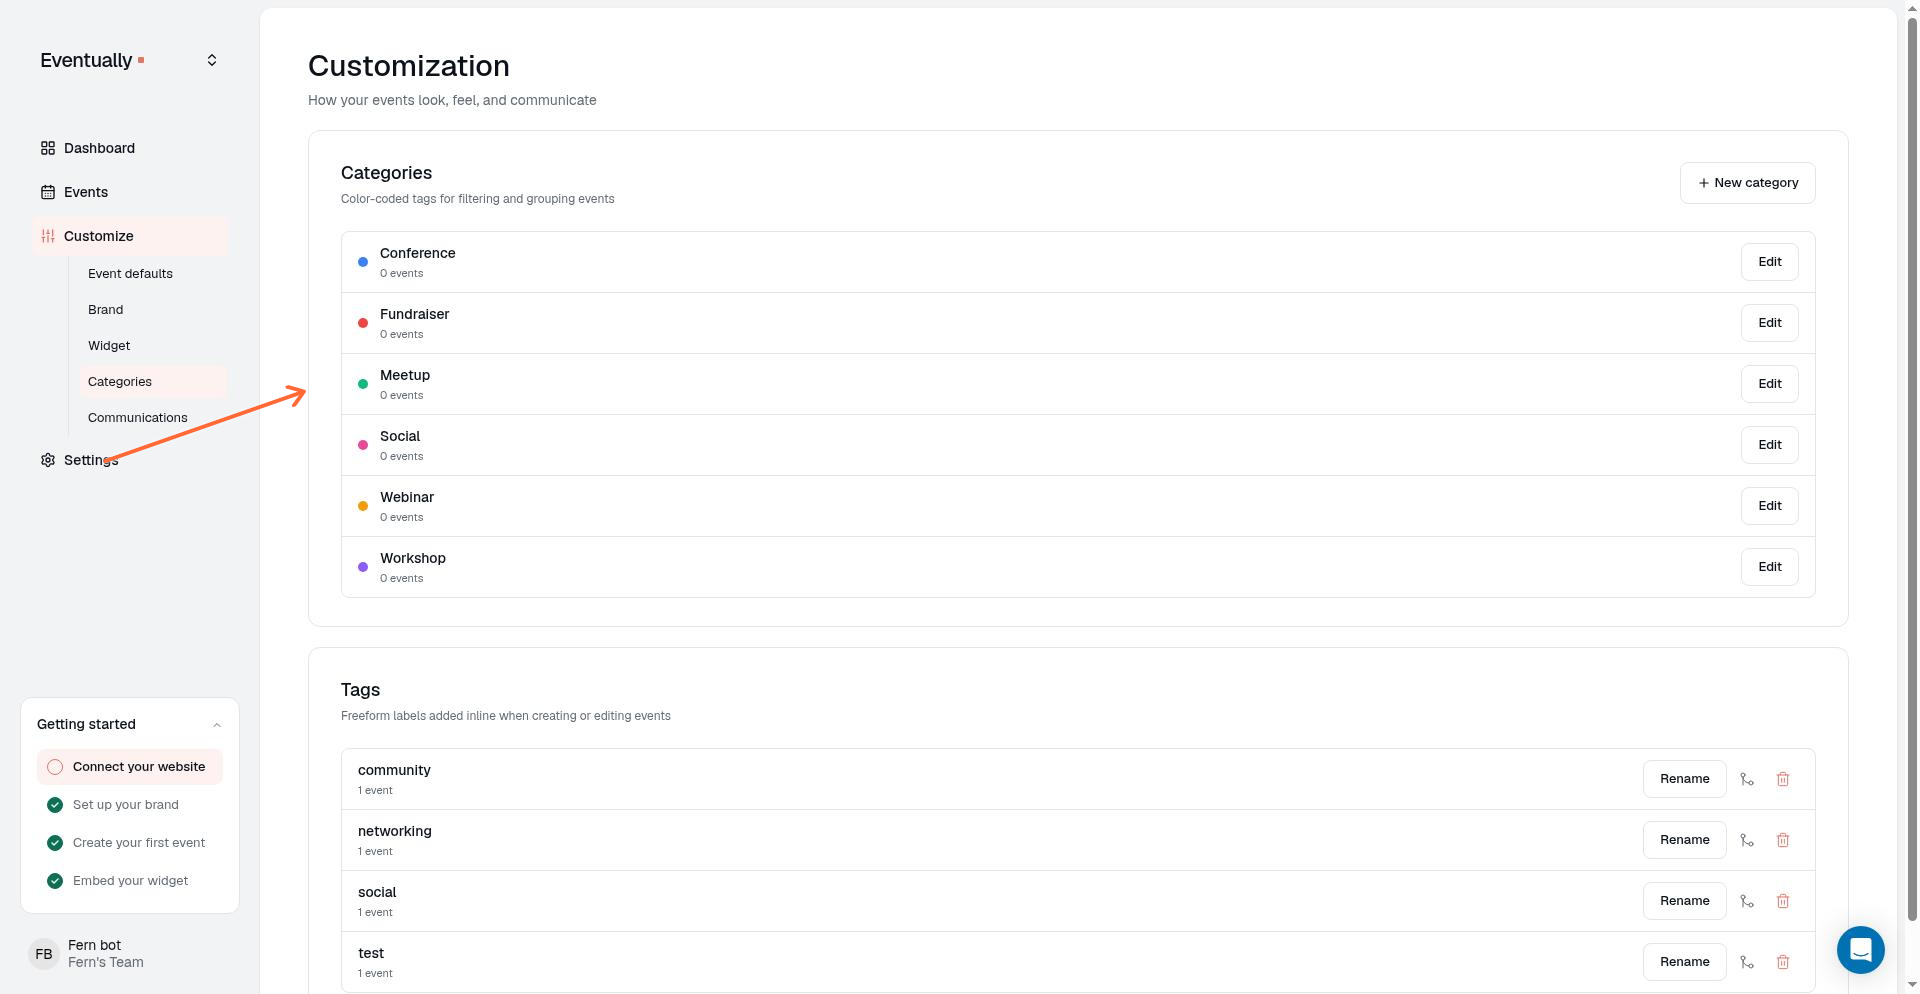
Go to Customize in the left sidebar.
Click Categories.
The Categories page shows all your categories and tags in one place. Categories appear first, followed by tags.
Create a new category
Click New category at the top of the Categories page.
Enter a category name in the text field.
Choose a color from the preset color swatches, or click Open custom color picker to select a custom color.
Click the check-mark save control to save the category.
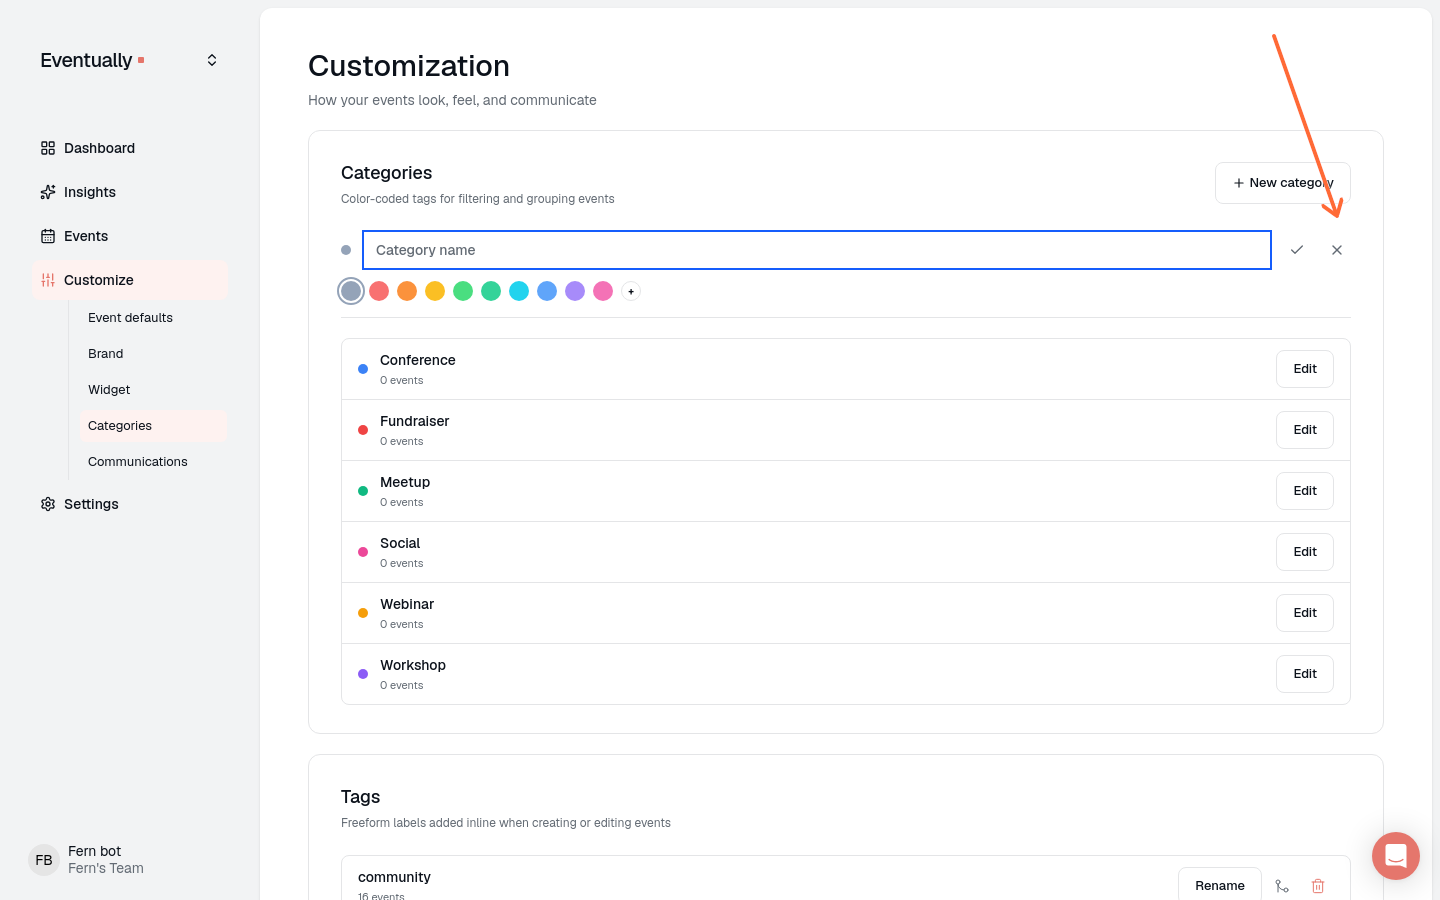
The color you choose appears as a small dot next to the category name in your dashboard and in the calendar widget. Category names don't need to be unique, and neither do colors. A category doesn't need a color; a custom color just has to be a valid hex value.
Edit a category
From the Categories page, you can rename a category or change its color.
Find the category in the list.
Click Edit next to the category name.
Update the name or choose a new color.
Click the check-mark save control to save your changes.
Editing a category updates it immediately across all events that use it. Visitors see the new name and color in the calendar widget.
Delete a category
Deleting a category removes it from your dashboard and unlinks it from all events. The events themselves are not deleted.
Find the category in the list.
Click Edit next to the category name.
Click the trash control. The category is deleted immediately, without a confirmation step.
Category colors and visibility
Category colors help visitors visually distinguish event types in your calendar widget. The color appears as metadata on category pills and small indicator dots next to event names. When an event has no cover image, the larger image area follows the fallback order in the next section, not always the full category color.
When you apply multiple categories to an event, the primary category's color displays in most views. On card view, the category name in the pill can be replaced by a status chip: JOIN THE WAITLIST when the event is sold out with a waitlist open, or SALE when the displayed default tier is marked down. The pill element stays the same so category color CSS still applies when the category name is shown. See Widget CSS selector reference for the card status selectors.
Set a fallback image or icon for a category
When an event in a category has no image of its own, the calendar widget shows the first available category fallback below. This presentation is automatic; there is no separate setting to configure.
Go to Customize in the left sidebar and click Categories.
Find the category and click Edit next to its name.
In the edit panel, go to the Fallback image section and click Upload image to add an image that appears when events in this category have no photo. Click Remove to clear it.
Go to the Category icon section. Choose None, Choose icon, or Upload SVG. The icon is shown when an event has no image and no fallback image.
Click the check-mark save control to save the category.
When an event has no photo, visitors see the first available option in this order:
Category fallback image
Category icon on the category color background
A light brand accent tint, when the category still uses one of Eventually’s default colors
The category color you chose, when you set a color for that category yourself
Category fallback images and icons keep the category color as their backdrop. Category colors still appear on pills and small indicator dots even when the no-image area uses the brand accent tint instead of a full category-color block.
The brand accent tint comes from your brand settings. Without a brand accent, the no-image block uses a light default surface.
The category color remains visible behind the icon when that option is used.
Categories vs. tags
Categories and tags serve different purposes:
Categories are visible to visitors in the calendar widget. Use them to organize events your attendees will filter by, like Workshops, Classes, or Private Events.
Tags are not shown as labels to visitors. Use them to group events in your dashboard, and to limit which events a calendar widget includes when you set a tag filter in the calendar editor.
Both categories and tags are managed from the same Customize → Categories page. For details on managing tags, see Manage tags for your events.
Add categories to events
To assign categories to individual events, see Edit an event. You can add categories from within the event editor, or create new categories directly from the event drawer.
Bulk-manage categories
Apply a category change to several events at once from the Events page. Select the events, open the Category menu in the bulk action bar, and choose Add category, Remove category, or Clear all categories.
Go to Events and select the events you want to change using the checkboxes on each row.
In the bulk action bar, click Category.
Choose an action: Add category and Remove category ask you to pick the category the action applies to; Clear all categories applies directly, with no category to pick.
Add category adds the chosen category to every selected event while keeping the categories they already have. Adding a category an event already has does not create a duplicate assignment, and it does not change which category leads the event's widget styling and fallback image.
Remove category removes only the chosen category from the selected events and leaves their other categories intact.
Clear all categories removes every category from the selected events. This is the destructive option; Add category and Remove category are targeted actions.
Filter by category or tag in your widget
To control which events appear in your calendar widget, see Set up your calendar widget. The Show group in the calendar editor lets you show only specific categories, tags, or both on each calendar.