
Creating an event with the 4-step wizard
Eventually's event creation wizard walks you through building a new event in four steps: Details, Tickets, Guest Experience, and Review & publish. Start from your Eventually dashboard by clicking manually create your event and follow the on-screen prompts. That control starts a fresh create and does not resume an abandoned Evie draft. On first-run New Event, you can also choose Build your event manually from the Evie prompt.
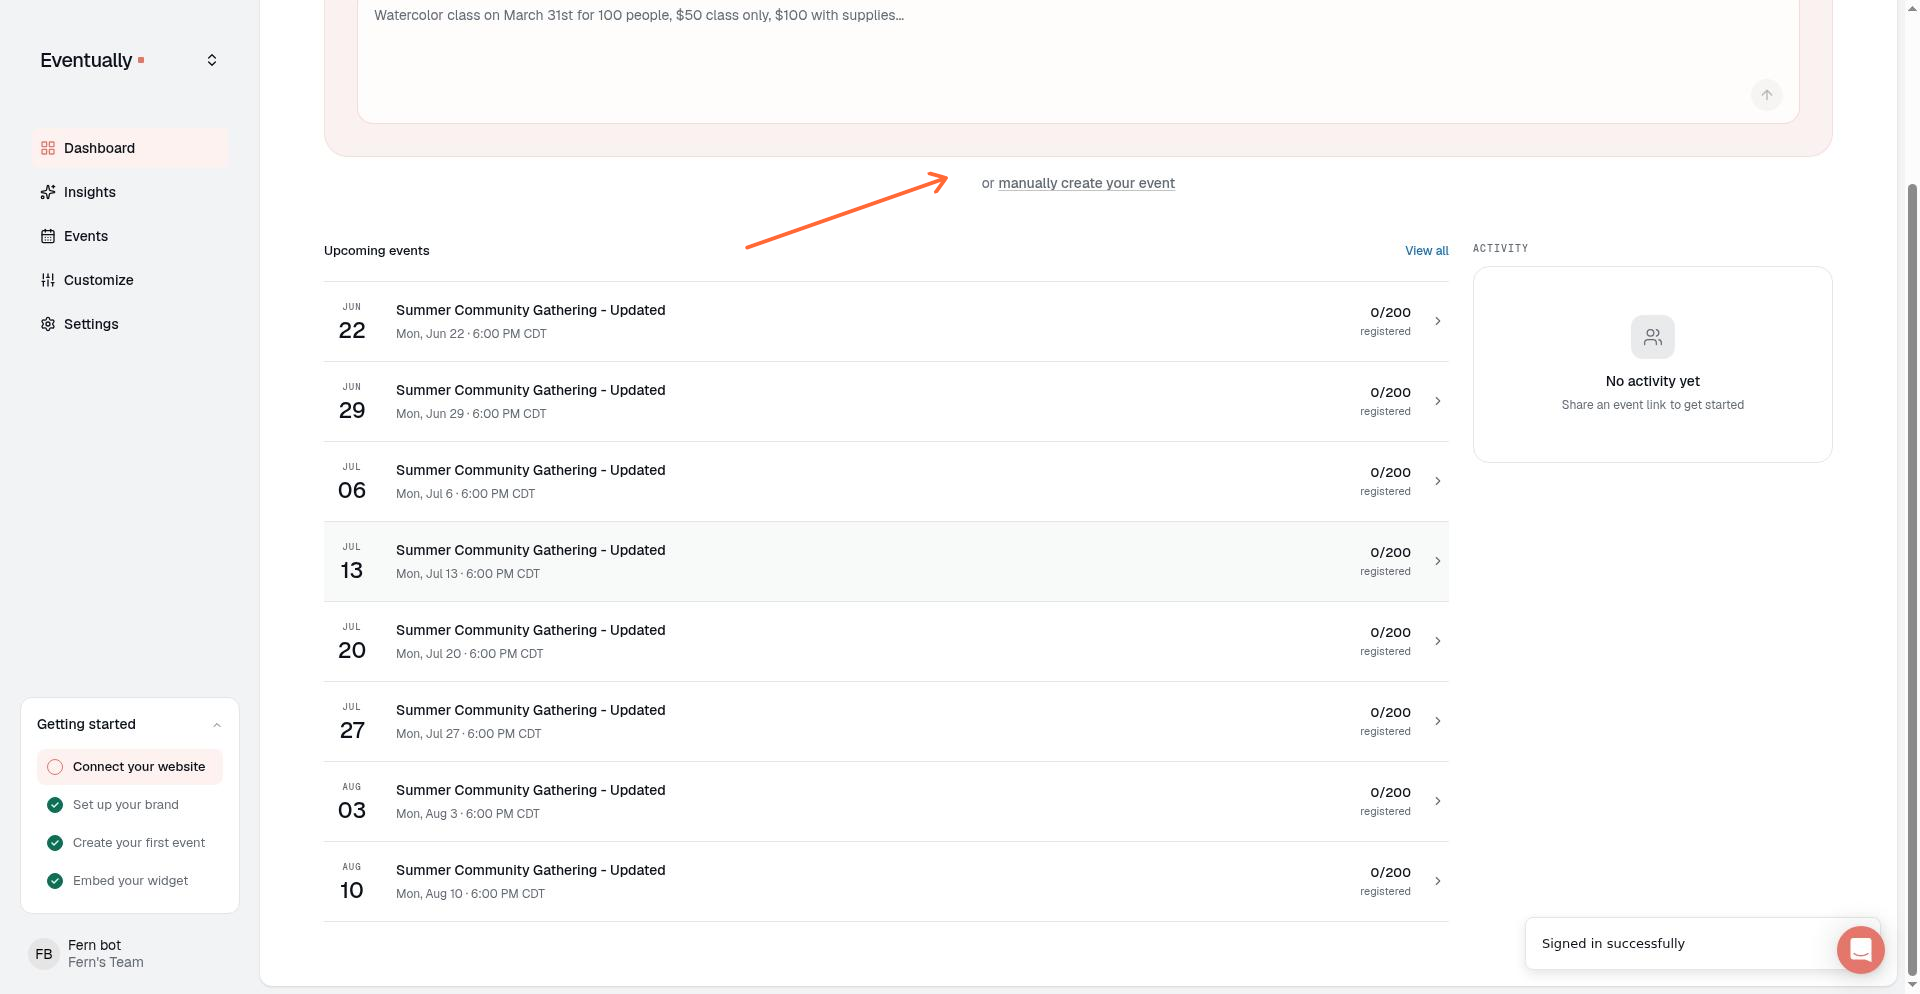
Step 1: Details
The first step covers the basics of your event. Enter the following fields:
Event name
Date & time — Click + Add multiple or recurring dates to set a repeating schedule or additional dates.
Venue name
Address
Format
Description — Use the rich-text editor to format your event details. The Normal, H3, and H2 toolbar buttons highlight the current style of the text at your cursor, so you always know which format is active.
For recurring events, you can set a Title template and use tokens such as {month}, {date}, {day}, and {ordinal}. You can also provide a Custom title list (one per line) to override the template for individual occurrences. Click the token chips below the template field to copy a token to your clipboard; a brief Copied confirmation appears. Paste the token into the template field where you want it.
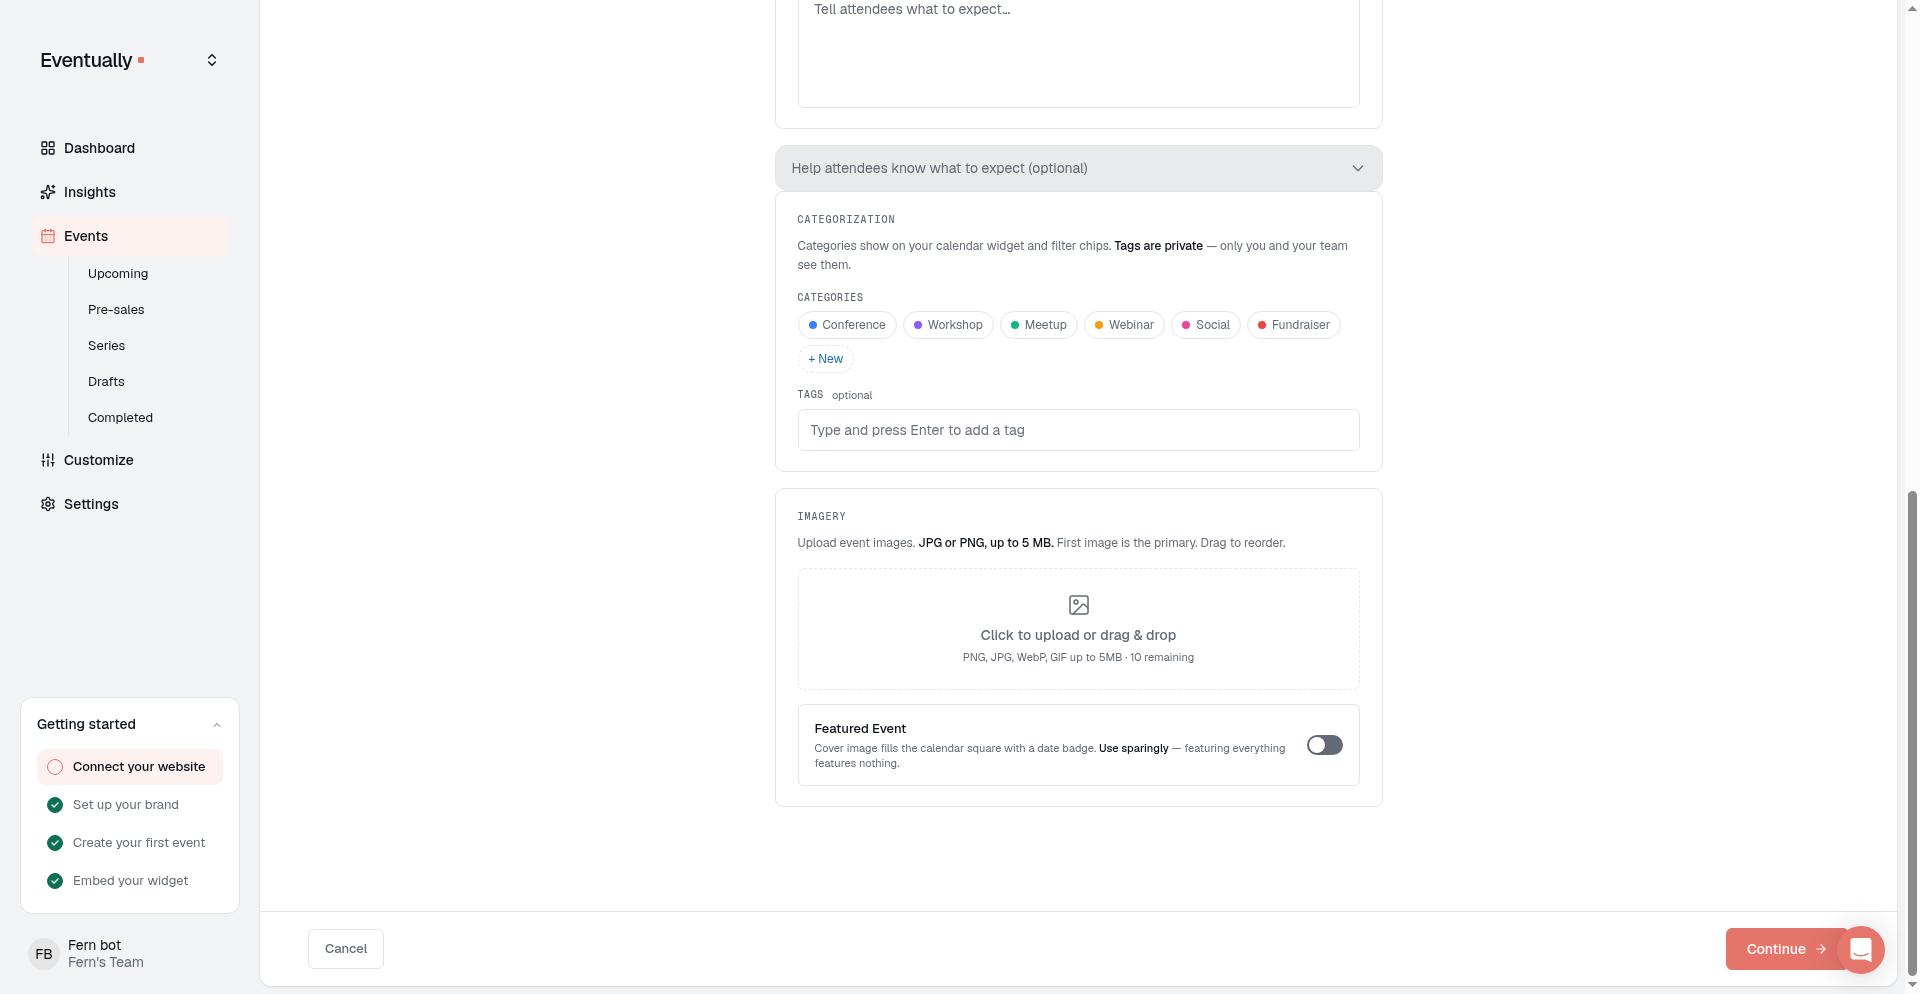
Click Continue to move to the next step.
Step 2: Tickets
Configure how attendees register and what ticket types you offer.
Registration method
Choose Eventually registration to sell tickets through your Squaresite, or External registration to link out to a third-party page. If you select external registration, you must provide a Registration URL, Button text, and Display price before publishing.
Capacity
Set a Total event capacity to limit attendance across all ticket types combined. Leave it blank for unlimited. The field selects its current value when focused, so you can type a new number immediately. Per-ticket limits are set on each individual ticket card below.
Ticket types
Click Add another ticket type to create additional options. Each ticket card includes:
Name
Price
Ticket limit — per-type capacity. Leave blank for unlimited.
Includes — what the ticket covers
Available from — appears when Timed ticket release is enabled
Sale rules
Toggle the following options:
Timed ticket release — schedule when tickets go on sale
Waitlist — allow attendees to join a waitlist when tickets sell out
Add to cart mode — let attendees add multiple tickets before checkout
Attendee info
Choose when to collect attendee details:
Before checkout
After checkout
Off — free tickets always collect details at registration regardless of this setting
Click Continue to proceed.
Step 3: Guest Experience
This step controls how you communicate with attendees and what information you collect at registration.
Communication preferences
Select a communication tier:
Simple — manual check-in
Engaged — QR optional
High-Touch — QR default
Registration questions
Click Add question to build custom fields. Name and Email are always collected automatically.
Available field types:
Short text
Long text
Dropdown
Checkbox
Yes / No
For Dropdown and Checkbox, enter Options and click + Add option to add choices.
Click Continue when done.
Step 4: Review & publish
Preview your event before going live. The review page shows:
Event title, date, and location
Ticket totals and capacity
Whether Waitlist is enabled
Registration questions
Selected guest-experience tier
Recurring schedule (if applicable)
Click Edit details, Edit next to Tickets, or Edit next to Guest Experience to jump back and make changes.
Publish requirements — External-registration events cannot be published without a Registration URL. Eventually-registration events must have at least one ticket type before publishing. If you are not ready to publish, click Save as draft instead.
When everything looks correct, click Publish event to make your event live. You can also click Save as draft to finish later.
Publishing a past-dated single event
If you set a single event date in the past and click Publish event, a confirmation prompt appears:
This event is scheduled in the past. If you publish it now, it will go straight to your Completed events — it will not show in Upcoming or take new registrations.
Publish anyway?
This warning appears in the wizard review step, the event detail page, and the events list row menu. It is a soft check — you can still proceed if you intentionally want the event live for historical reference. Recurring series events do not trigger this warning because their status behavior is managed separately.
Past-dated published events land in the Completed tab and do not accept new registrations. If you meant to run the event in the future, update the date before publishing.
Time zone behavior
When you set the date and time in Step 1, you also set the event time zone. Eventually stores the event time with that time zone and displays it in the event's time zone on the public event page, calendar widget, and in attendee confirmation and reminder emails.
After publishing
Your event appears on your site's calendar widget and is available for registration. To make changes later, see Edit an event.
Related guides
Set event capacity and ticket limits — Total capacity vs. per-ticket limits and sold-out behavior
Edit an event — Modify event details after creation
Using Evie (AI) to create an event — First-run persona, Evie prompt, read-only review, and draft resume
Creating recurring events — Set up repeating schedules for classes and workshops
Reorder ticket tiers for an event — Arrange ticket types in your preferred order