
The attendee detail view
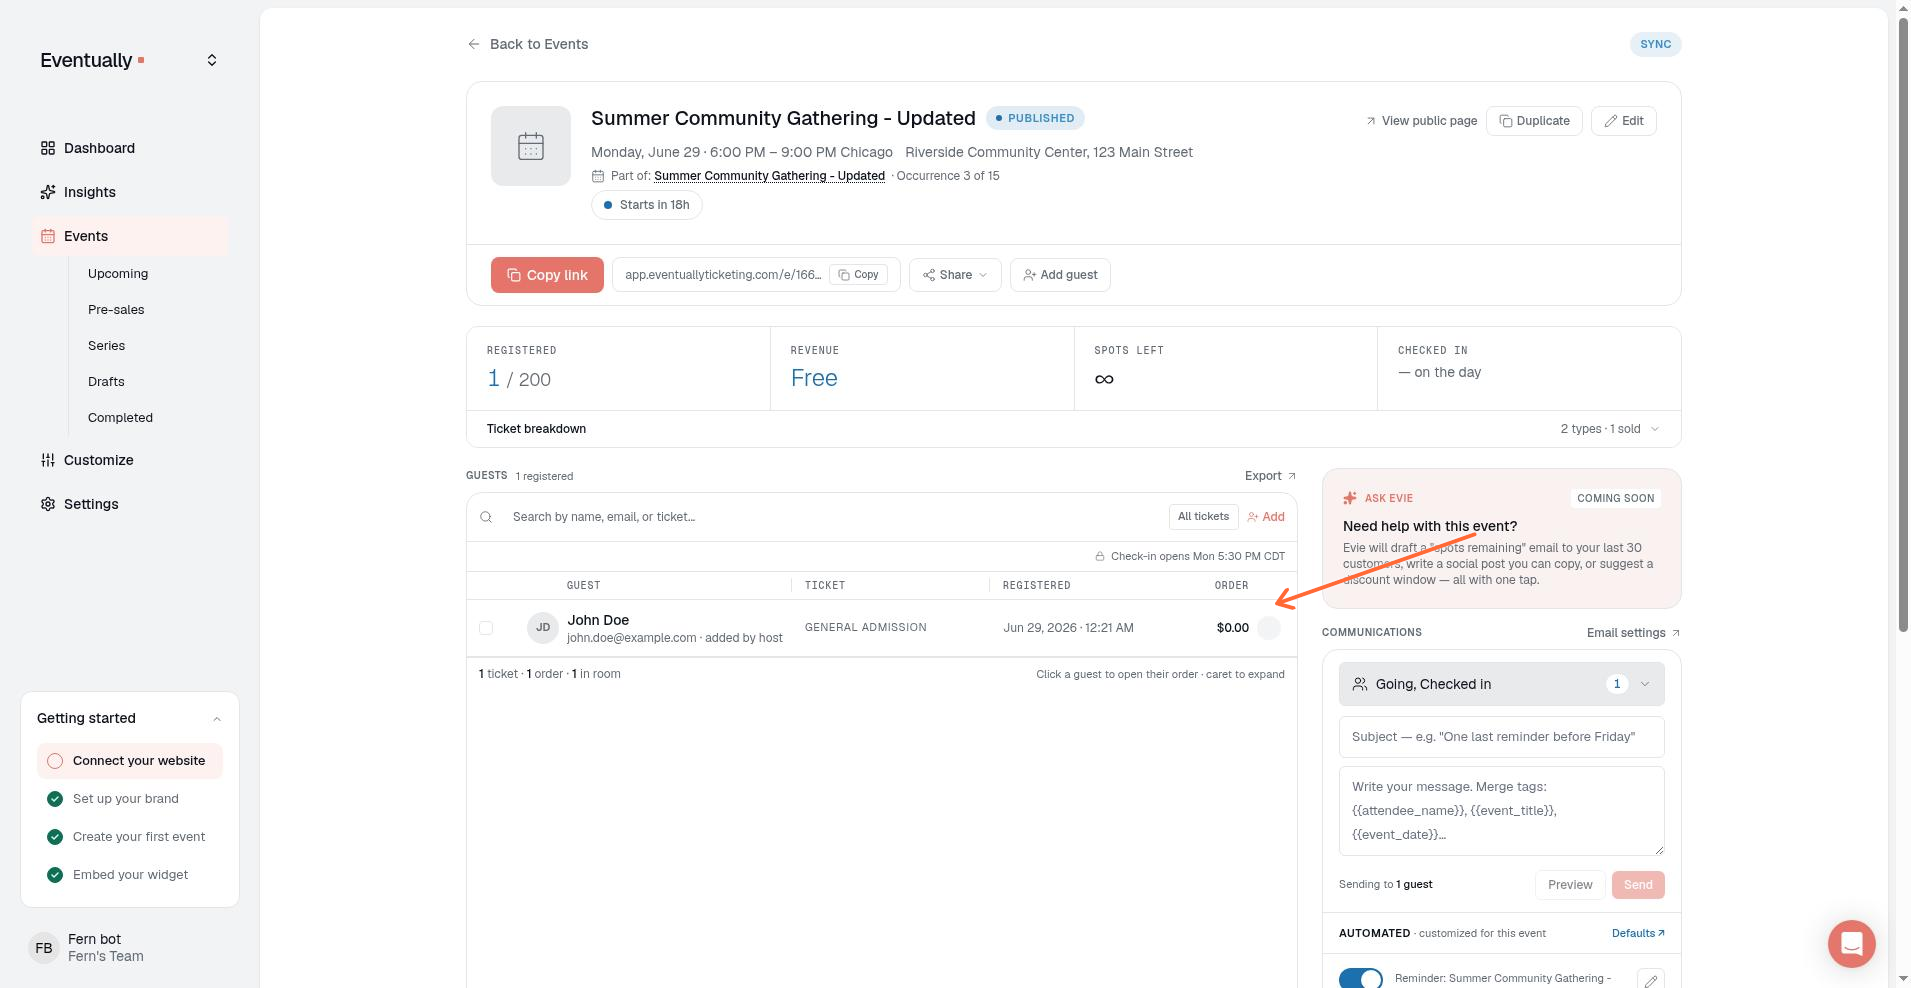
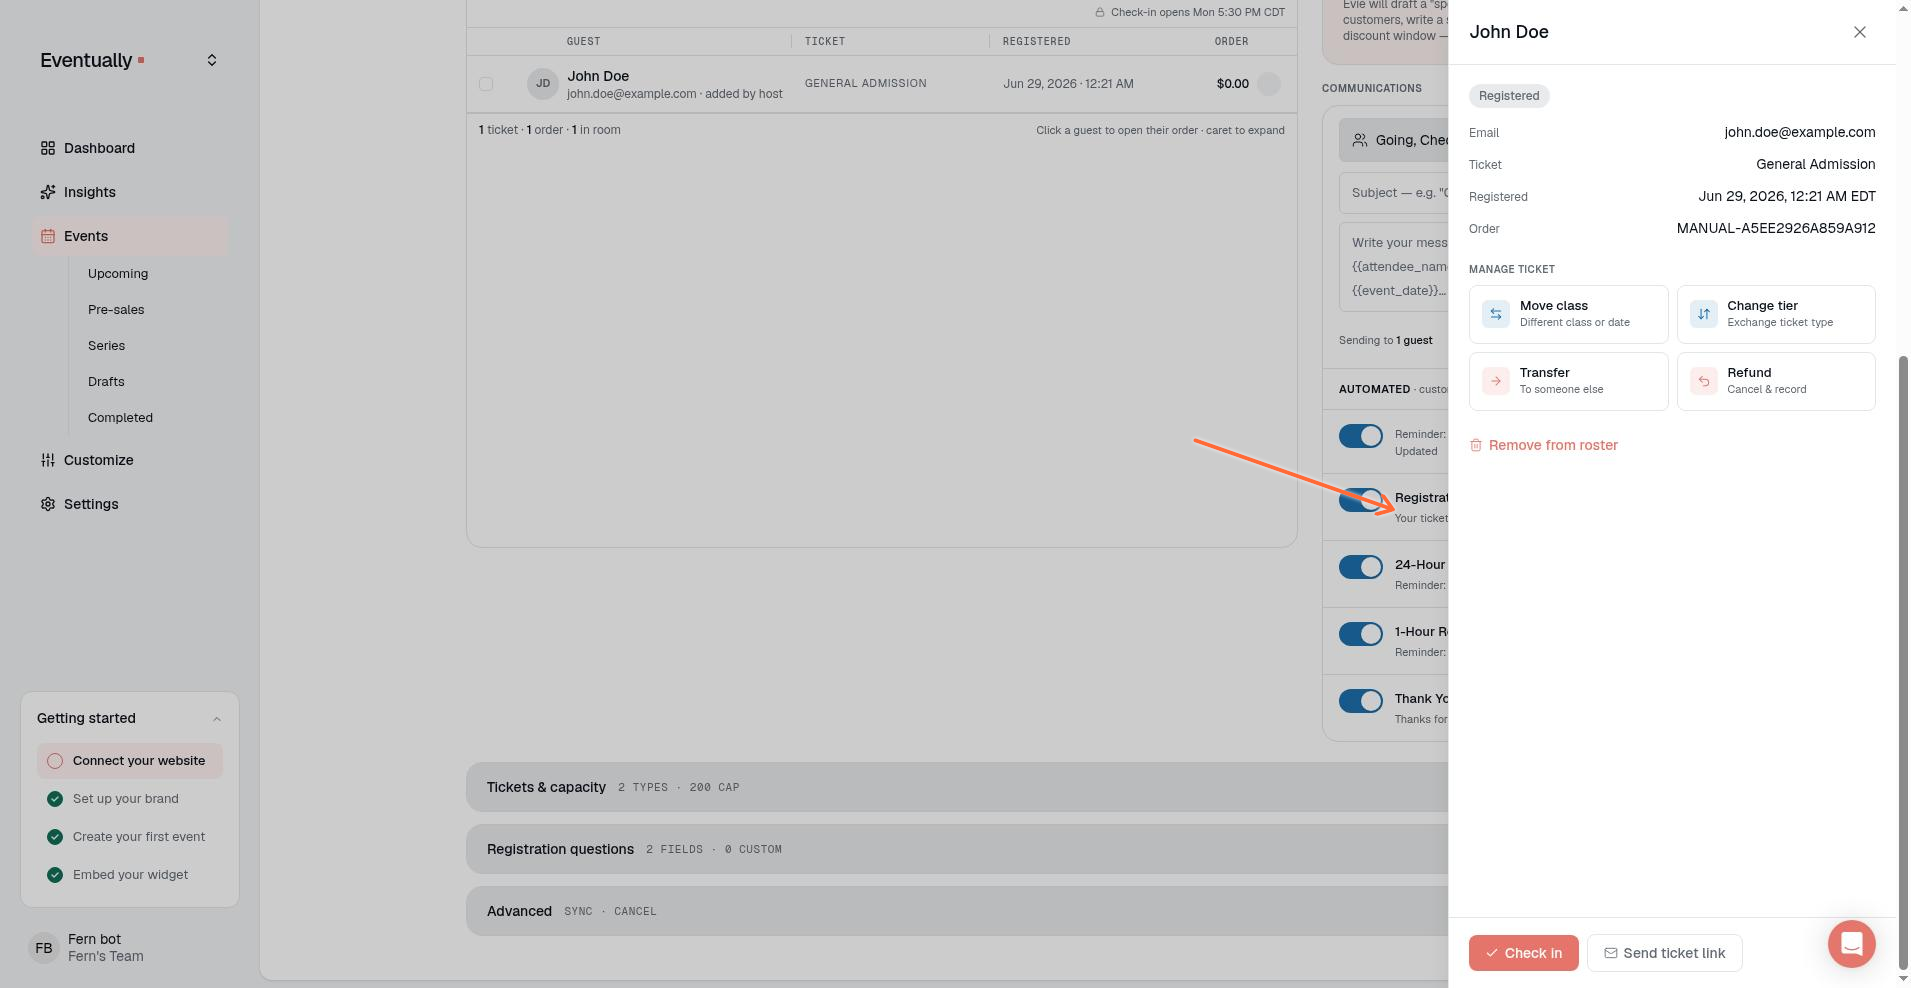
Click any guest in the Guests section of your event to open their Guest details drawer. From there you can review their registration, check them in, send their ticket link, transfer their ticket, refund their order, or remove them from the roster.
How to open the attendee detail view
Open an event in your Eventually dashboard.
Scroll to the Guests section in the event details.
Click the guest's name or row in the list.
On desktop, the guest's record opens in the Guest details drawer on the right side of the page. On mobile, it opens as a centered card.
What you can see in the drawer
The Guest details drawer shows:
Guest name and email address
Status badge, such as Registered, Checked in, or Over capacity
Ticket: the ticket type
Order: the order ID
Seats on multi-seat registrations
One registration can cover several seats. Open a multi-seat attendee's record or guest drawer to see a Seats section listing each seat's name, email, and registration answers. Add-ons don't count as attendee seats in attendee counts. If the order includes an add-on with a registration question, the attendee detail view and the guest drawer show each add-on-scoped answer on its own line, one per add-on unit. The same seat-level detail appears in the CSV export. If a registration question was removed from the event, its saved answers still appear in the attendee detail view, guest drawers, and seat views, marked with (removed).
Emails sent to this guest
The drawer includes an Emails section listing every recorded email sent to this guest for the event: the email type and subject, the delivery status (Sent, Delivered, Bounced, Spam complaint, or Failed), the time of the latest status, and the failure reason when delivery failed. If an email went to an address that differs from the guest's current email, the row shows the address it was actually sent to. See View sent emails and delivery status for what each status means and which emails are recorded.
Actions you can take from the Guest details drawer
The Manage ticket actions (Move class, Change tier, Transfer, and Refund) appear only for active registrations, and only owners and admins can complete them.
Send ticket link
Click Send ticket link to email the attendee a branded Your ticket link email with the event date, time, location, ticket type, and a View Your Ticket button that opens their ticket page. The action uses this attendee's registration record. It emails the attendee's existing order-based confirmation link and does not revoke or replace it.
Send ticket link does not check the registration's status or order ID, so it also sends for pending and refunded registrations. If the registration has no order ID, you still see a success notice, but the emailed link ends in /confirmation/ and opens a Registration not found page. Those no-order and inactive-registration warnings belong to the separate Resend Email action instead. For the full resend flow, see Resending a confirmation email.
Check in
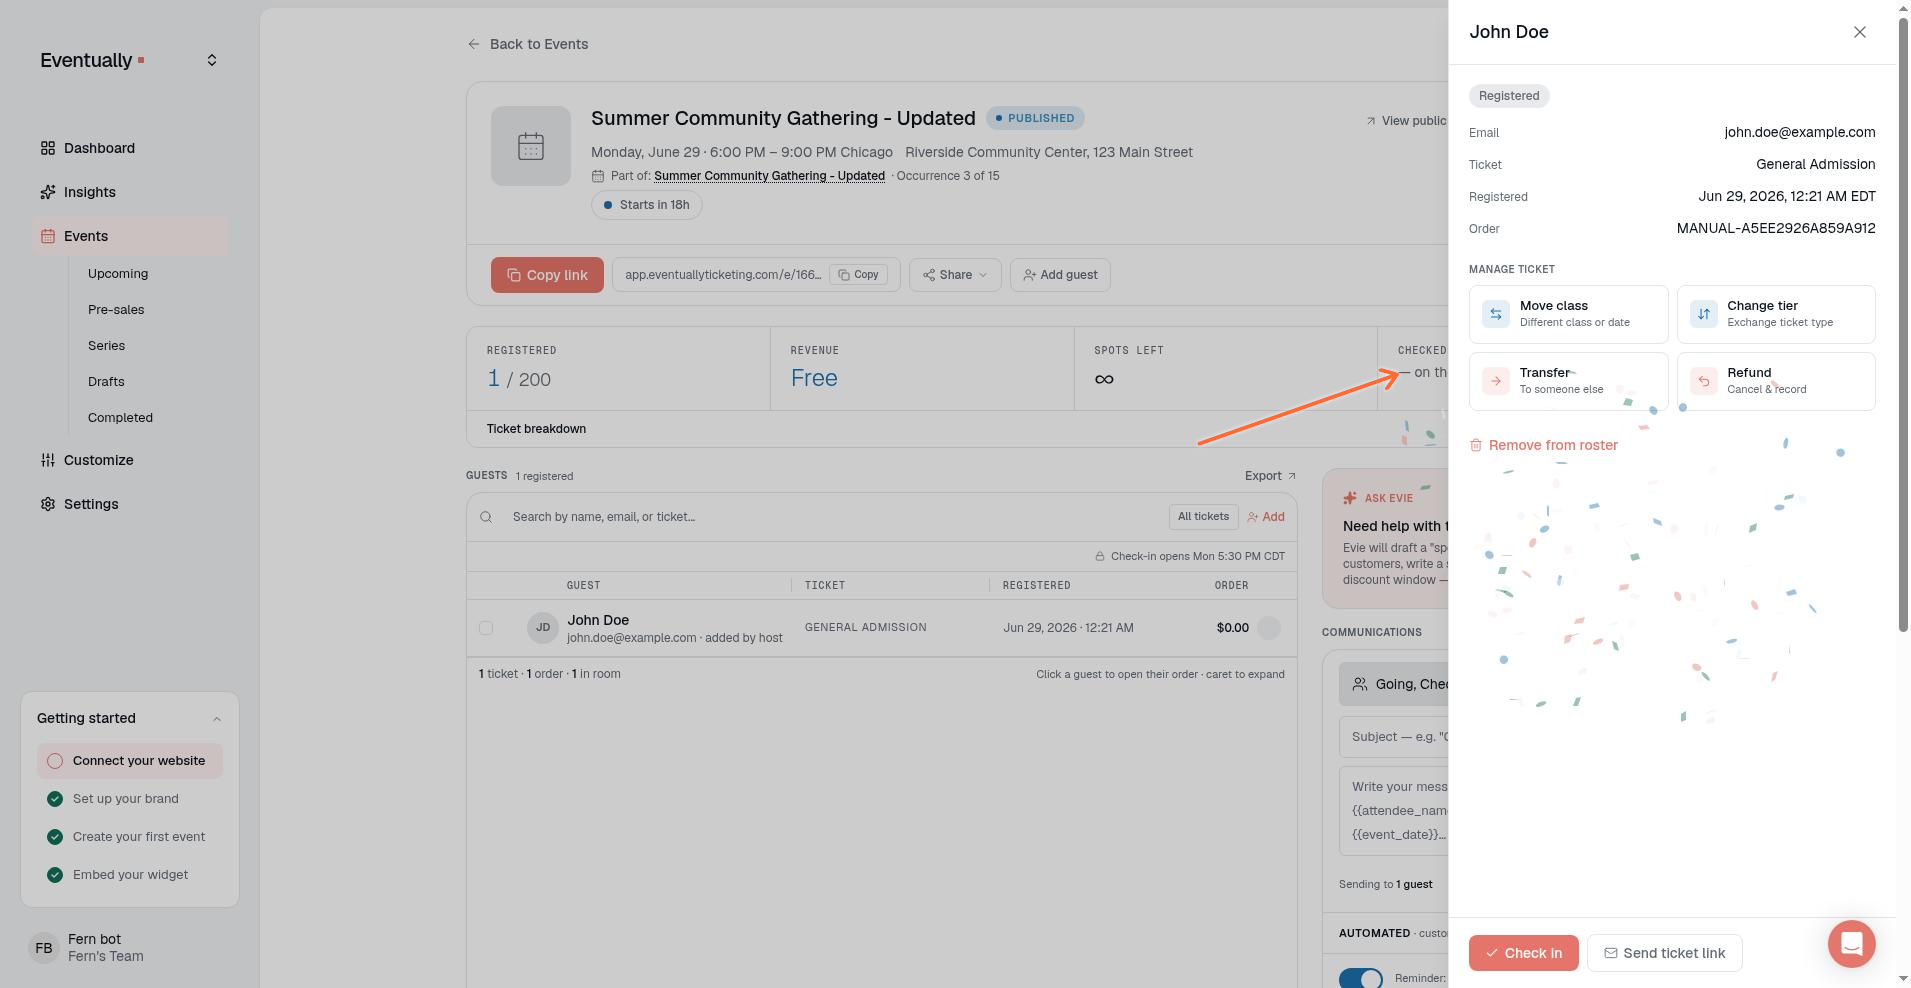
Click Check in to mark the attendee as arrived. The status badge updates immediately. To reverse a check-in, click the guest's check-in circle in the Guests list again, or switch the guest off in check-in mode.
Transfer the ticket
Under Manage ticket, click Transfer with the description To someone else. Enter the new holder's name and email, then click Transfer ticket. Read more in Transfer a ticket to a different attendee.
Change the ticket tier
Under Manage ticket, click Change tier with the description Exchange ticket type. Select a new tier, review the Balance to settle preview, and confirm. This keeps the guest on the same event but switches their ticket type. Read more in Change a guest's ticket tier or move them to a different class.
Move to a different class
Under Manage ticket, click Move class with the description Different class or date. Choose a destination class and tier, review the Balance to settle preview, and click Move & rebalance. The guest gets a new ticket link, and their old one stops working. Read more in Change a guest's ticket tier or move them to a different class.
Over capacity seats
A seat created from a paid Squarespace order that arrived after the event filled shows the Over capacity badge and the message Bought on Squarespace after the event filled. Refund or move this seat. The attendee's timeline can include a Registered over capacity entry. Resolve the seat by refunding, cancelling, or moving it. See When a paid Squarespace order exceeds capacity.
Refund the order
Under Manage ticket, click Refund (Cancel & record). Refunding marks the registration refunded, frees the seat, and revokes the ticket in Eventually. The refund modal links to the Squarespace order so you can issue the actual payment refund there. Read more in Issuing refunds.
Remove from roster
Click Remove from roster to permanently delete the record. Active in-app registrations require confirmation before removal. Active seats created from a Squarespace order can't be removed this way. The dialog steers you to Cancel registration or, when payment was paid, Refund. Removing a guest is different from cancelling: it deletes the record entirely rather than changing its status. Read more in Remove a guest from your roster.
Edit attendee details
Click the pencil icon next to the guest's name to update the attendee's name and email. Only owners and admins can change the email; other team members can edit the name. Custom field responses are displayed but can't be edited here. Click Save to apply changes or Cancel to discard them.
Cancel the registration
The drawer doesn't include a standalone Cancel Registration action. To cancel, tick the guest's checkbox in the Guests list and choose Cancel registration from the bulk-action menu, or choose it as a resolution option in the active Squarespace-seat removal dialog. Only owners and admins can cancel, and cancelling cannot be undone. Cancelling frees the seat but does not automatically refund the order. Read more in Cancelling a registration.
Related guides
What happens if an email is invalid
If you leave the Email field blank, the drawer disables Save so the change can't be saved. If you enter a malformed address and save, an error message appears directly under the Email field. The drawer stays open and keeps your typed values so you can fix the email and click Save again.
Email addresses ending in .con, .cmo, or .ocm are automatically corrected to .com when you save your changes, and the address is trimmed and lowercased. Real domains such as .co and .cm are never rewritten; any other malformed address still shows the error under the Email field.